
Unlocking Privacy: A Step-by-Step Guide to Ceramic's Private Data Proof-of-Concept
Learn how the Ceramic team is rolling out a plan to support private data in the network starting with a minimal proof-of-concept.

About a month ago one of our founders, Joel Thorstensson, released an initial overview of our plans to begin ideating how physical private data capabilities could be natively offered to developers using the Ceramic Network. The forum post includes details of how this would be rolled out in two phases in the form of a proof-of-concept, which is advisable to read before consuming this article.
It's also important to mention the motivation behind this effort. To start, Ceramic doesn't currently offer any native privacy features. This means that all data on Ceramic is public by default. At the same time, over the past few years, we've recognized the strong need for access control across several applications and use cases. A rough estimation would be almost half of all apps built on Ceramic have access control needs in one form or another.
In thinking about a solution, we aligned on the premise that physical access control (where data lives and who can sync it, as opposed to encryption) resonates most directly with the uniqueness of Ceramic's event-based architecture and our desire to align with edge privacy principles.
As such, our next step was to define a scope around a minimalist build to showcase how physical data privacy could be implemented in Ceramic.
Phase 1: API Read Access Control
If you've read Joel's forum post (linked above), you already know the details of the concept we've designed for this first phase. However, below are several key takeaways:
- Builds on Ceramic-one (implementation of the Ceramic protocol, written in Rust)
- Leverages the Feed API on Ceramic-one nodes, thus allowing nodes to filter the feed of events based on which permissions a user has
- Designed to showcase how two users could share private data from the same node by leveraging object-capabilities (OCAP)
- Shows how an object-capability generated by user 1 references a stream containing the data they want to share (as well as the DID corresponding to user 2, the person they want to share their data with) and allows user 2 to access data that would otherwise be physically inaccessible to query and obtain without the OCAP
This article will walk through how to run the PoC locally.
If you prefer video, please view the YouTube version of our Private Data Playground:
Setting Up Your Environment
This walk-through requires you to generate clones of two repositories, one of which is the PoC itself, while the other is the Rust-Ceramic codebase.
Rust-Ceramic Set-Up
First, install protobuf:
# You can alternatively use `brew install protobuf`
PROTOC_VERSION=3.20.1
PROTOC_ZIP=protoc-$PROTOC_VERSION-linux-x86_64.zip
curl --retry 3 --retry-max-time 90 -OL https://github.com/protocolbuffers/protobuf/releases/download/v$PROTOC_VERSION/$PROTOC_ZIP \
    && unzip -o $PROTOC_ZIP -d /usr/local bin/protoc \
    && unzip -o $PROTOC_ZIP -d /usr/local 'include/*' \
    && rm -f $PROTOC_ZIP
Next, clone the Rust-Ceramic codebase:
# we will need a special branch from the repo
git clone https://github.com/ceramicnetwork/rust-ceramic && cd rust-ceramic && git fetch
We need to set up our Rust-Ceramic node from a specific branch. Enter the branch relevant to this PoC, build, and run the daemon:
# enter the special branch
git checkout feat/private-data

# build and run
cargo run -p ceramic-one -- daemon
If your terminal starts populating with logs like the screenshot below, you've successfully started your node!
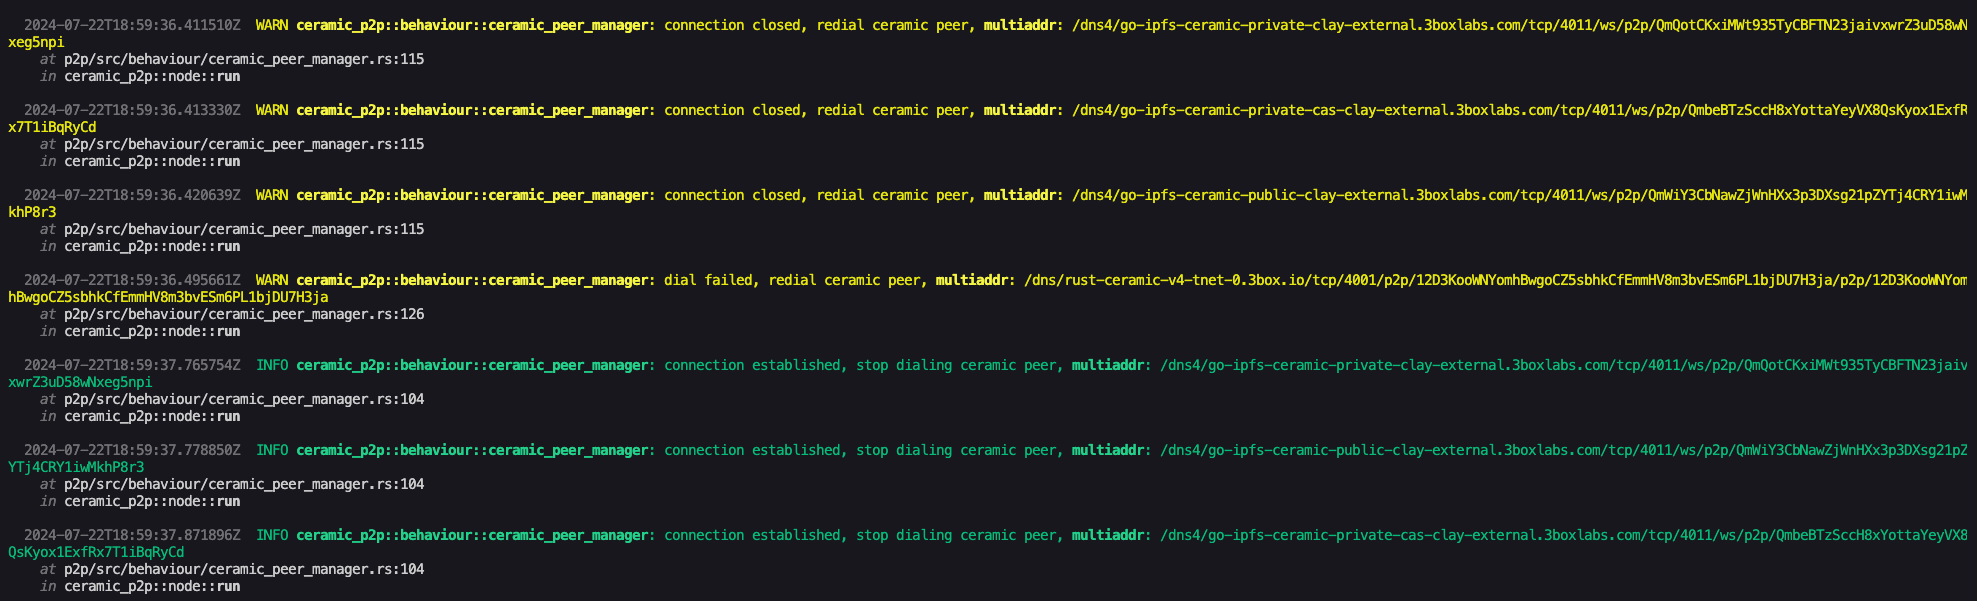
You now have an active Ceramic node running in the background! Next, we'll walk through the configuration for the private data playground web app.
Private Data Playground Web App Setup
First, clone the Private Data Playground repository:
git clone https://github.com/ceramicstudio/private-data-playgroundGo ahead and open the private-data-playground repo in your text editor of choice. Once open, we will need to create a copy of the example environment file and rename it:
cp .env.example .envOur first step is to supply a value to our NEXT_PUBLIC_PROJECT_ID variable by setting up a Project ID with WalletConnect. You can set one up for free (if you don't already have one) by following the simple steps in our WalletConnect tutorial (under "Obtain a WalletConnect Project ID). We will need this given that our application's Wagmi hooks rely on a contextual wrapper that will allow us to leverage these hooks within all child components, and use Web3Modal.
Once obtained, paste this into your new environment file next to the variable name referenced above.
Next, install your dependencies:
npm installWe're now ready to run the PoC!
Running the Application
Start up your application from within the private-data-playground repository in developer mode to initiate the UI:
npm run devYou should now be able to access the UI by navigating to http://localhost:3000 in your browser!
Creating a Stream and a Capability
Our first section will focus on generating a stream (containing a simple message) and an OCAP.
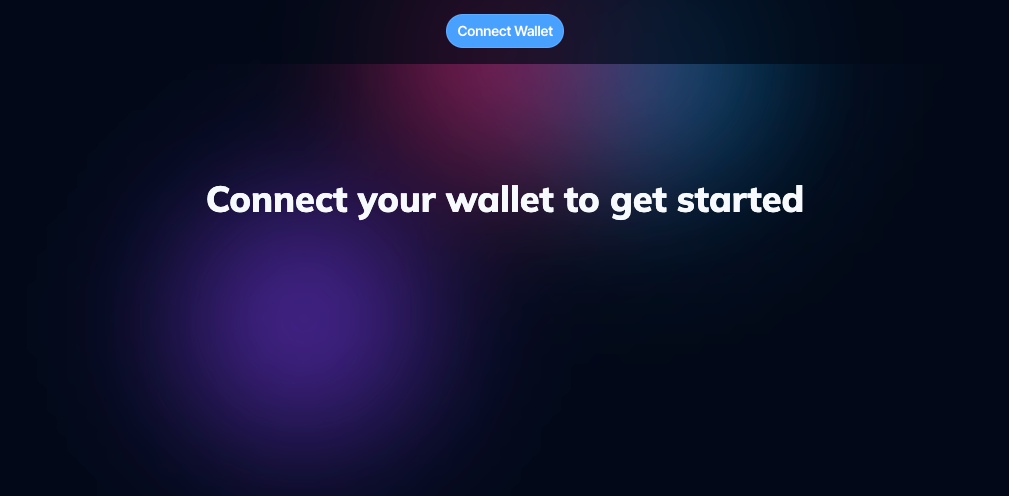
To begin, self-authenticate by clicking "Connect Wallet."
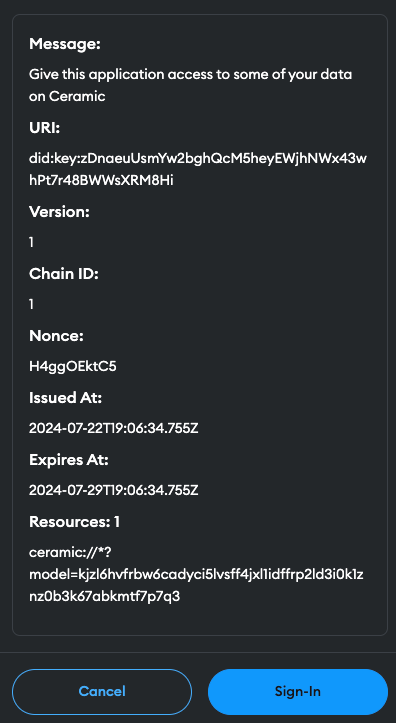
You should see a secondary signature request appear after selecting an account - approving this request will create a browser session (specific to your DID, stemming from your Eth address) that the application will use to sign and submit data on your behalf as you create messages:
There are two views contained in this simple PoC - one for writing data, and one for reading. Make sure you're in the "Write" view by clicking the toggle under your address:
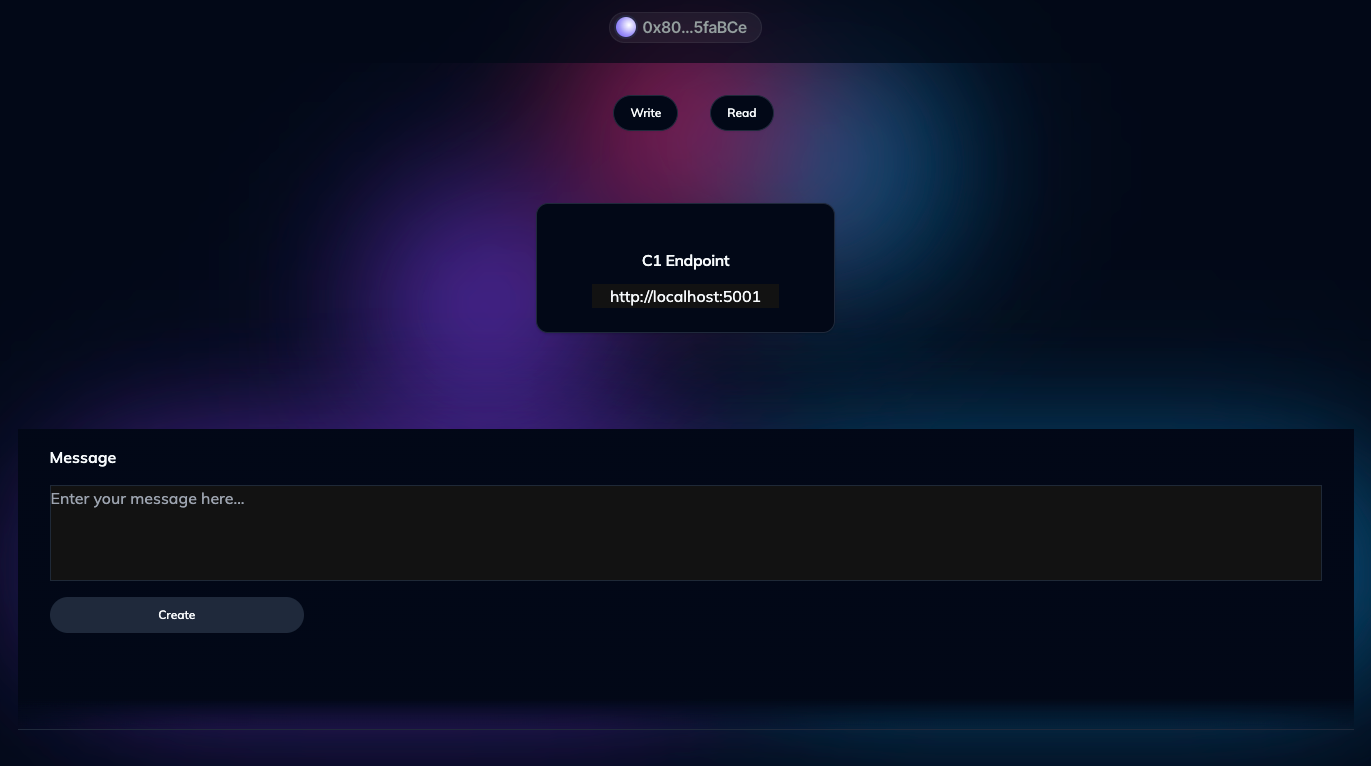
Go ahead and enter a simple message of your choosing - for example, "I love Ceramic!" would be an obvious choice. Go ahead and click the "Create" button. This action initiates a process that builds a new Ceramic stream and constructs your message into a payload that the Rust-Ceramic feed API will accept.
You should now see the resulting identifier under "Stream ID":
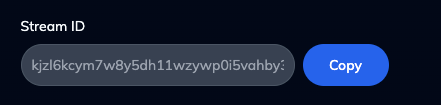
Go ahead and copy this value. Save it somewhere as it's needed later (a simple text document will suffice).
Finally, select another Eth address you control (make sure to remember which one) and enter it into the text input under "Delegate read access to". When ready, click "Create Capability". If you've followed all the steps correctly, your screen should look something like this:
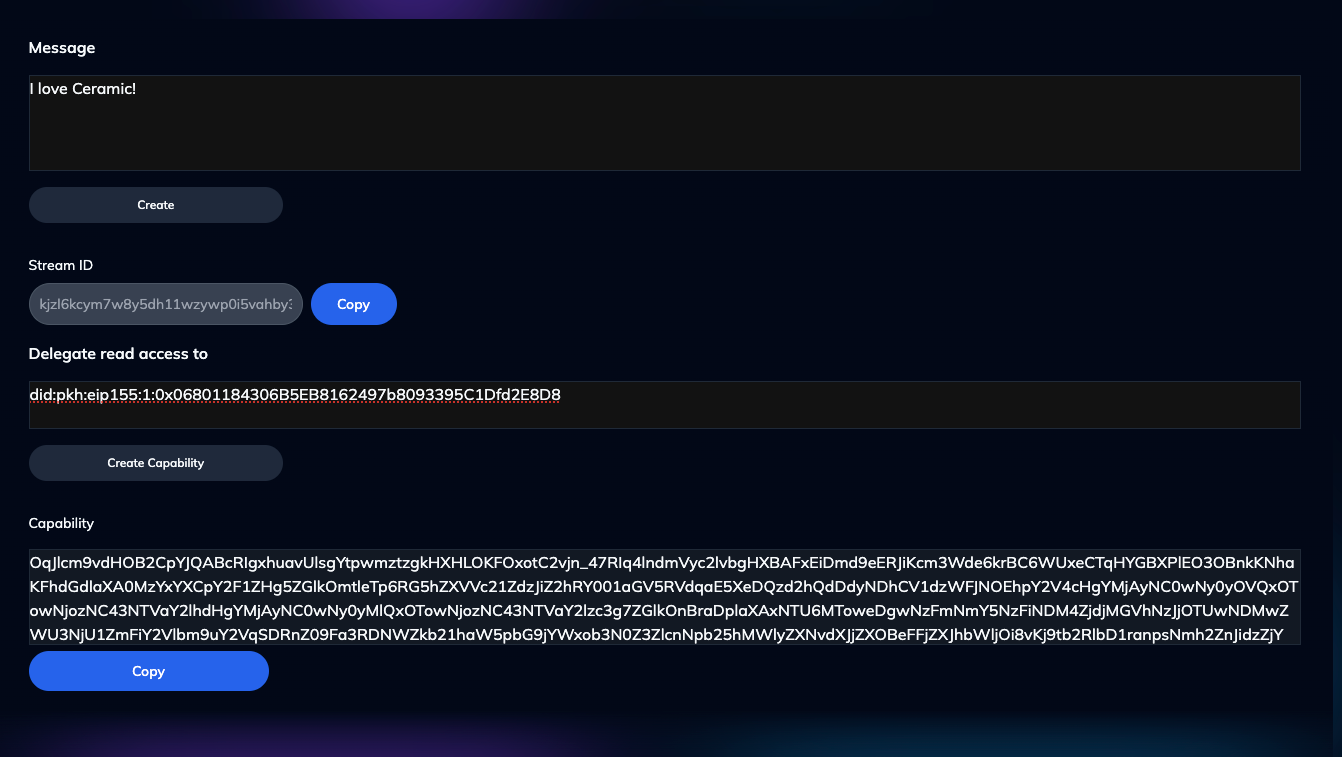
Copy the capability value somewhere you can reference for the next section.
Congrats! You've successfully created both a Ceramic stream and a capability object! The next section will show how to use these to access otherwise private data.
Using the OCAP to Access Private Data
Go ahead and disconnect your current authenticated account from the web app. Next, go through the sign-in flow using the address you selected for the "Delegate read access to" input from the prior section.
Once authenticated, navigate to the "Read" toggle in the web app:
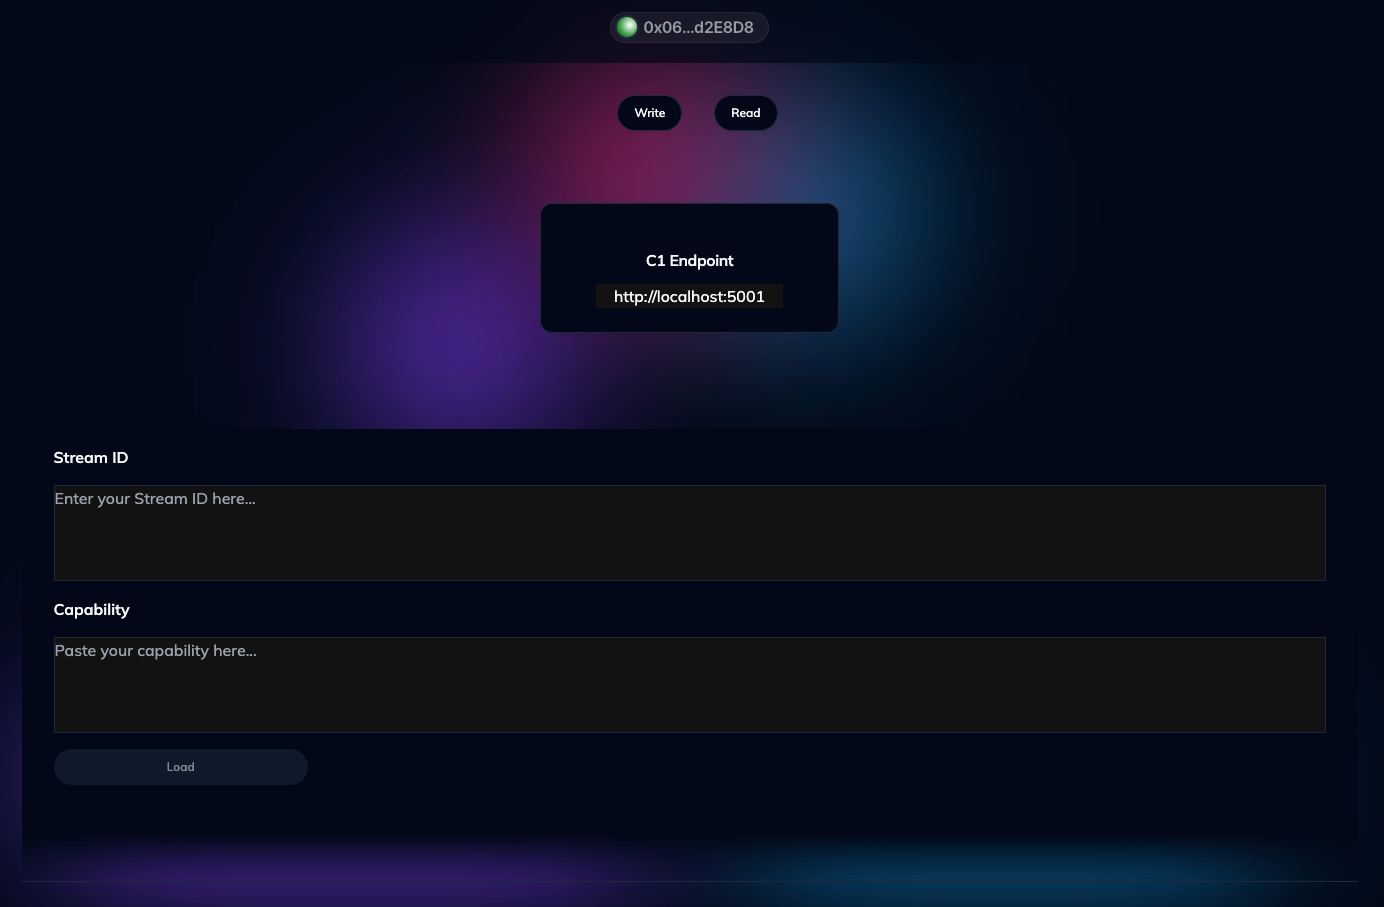
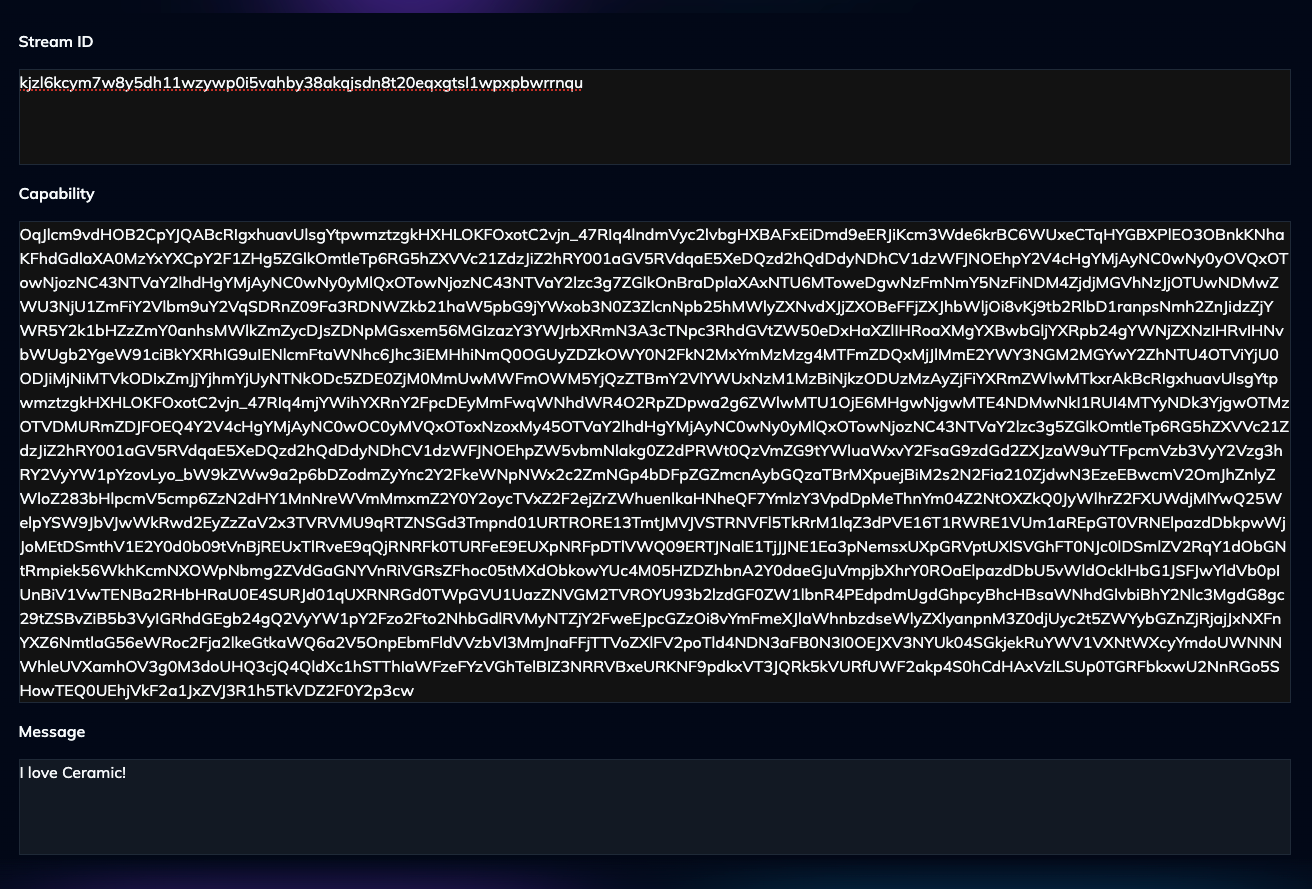
Enter the Stream ID and the Capability generated and saved from the prior section.
If you've copied over the values correctly, you should now be able to view the original message:
Congratulations - you've successfully used a capability to access otherwise private data on Ceramic.
You can also run through the "Read" process again, but this time make an arbitrary edit to the OCAP (thus invalidating it). With the Stream ID value kept the same, you'll notice that you no longer access the resulting message.
Next Steps
This minimal PoC is only the beginning of our plans for rolling out private data on Ceramic, with phase 2 coming soon (showcasing data privacy in the form of nodes and their ability to sync data between each other based on signed capabilities).
Is private data relevant to what you're building? Have feedback, questions, or concerns about our current thinking around private data? We'd love to hear from you! Fill out our community contact form, or email us at partners@3box.io.
Happy buidling!